
Team Yankee


It all started when…
having some chats with friends on actual wargaming systems. Being super hyped for tank games, we came across Team Yankee. This was around 2 year ago and I have now started with this game with the West German army.
The usual process is to build - paint - game.
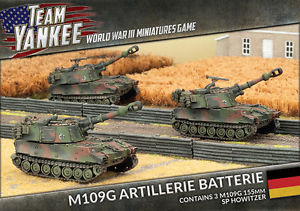
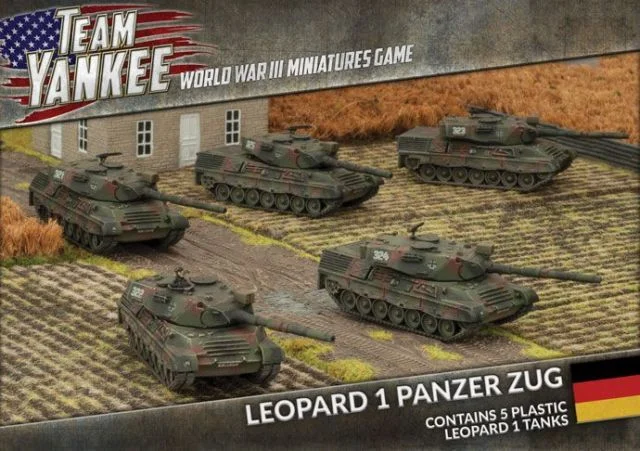
I have finished the German starter box, called Kampfgruppe Muller, a Battery of M109G and a Leopard 1 Panzer Zug.
The building phase is still great when you figure out how to build them together, what to use and how they will look like. I wanted to use magnets but did not have some available, so will restock them with these magnets later (maybe hard to do, but we will see).
The assembly
Now where to start you think? Easy, opening one box after each other and toss in all stuff! No … of course not :)
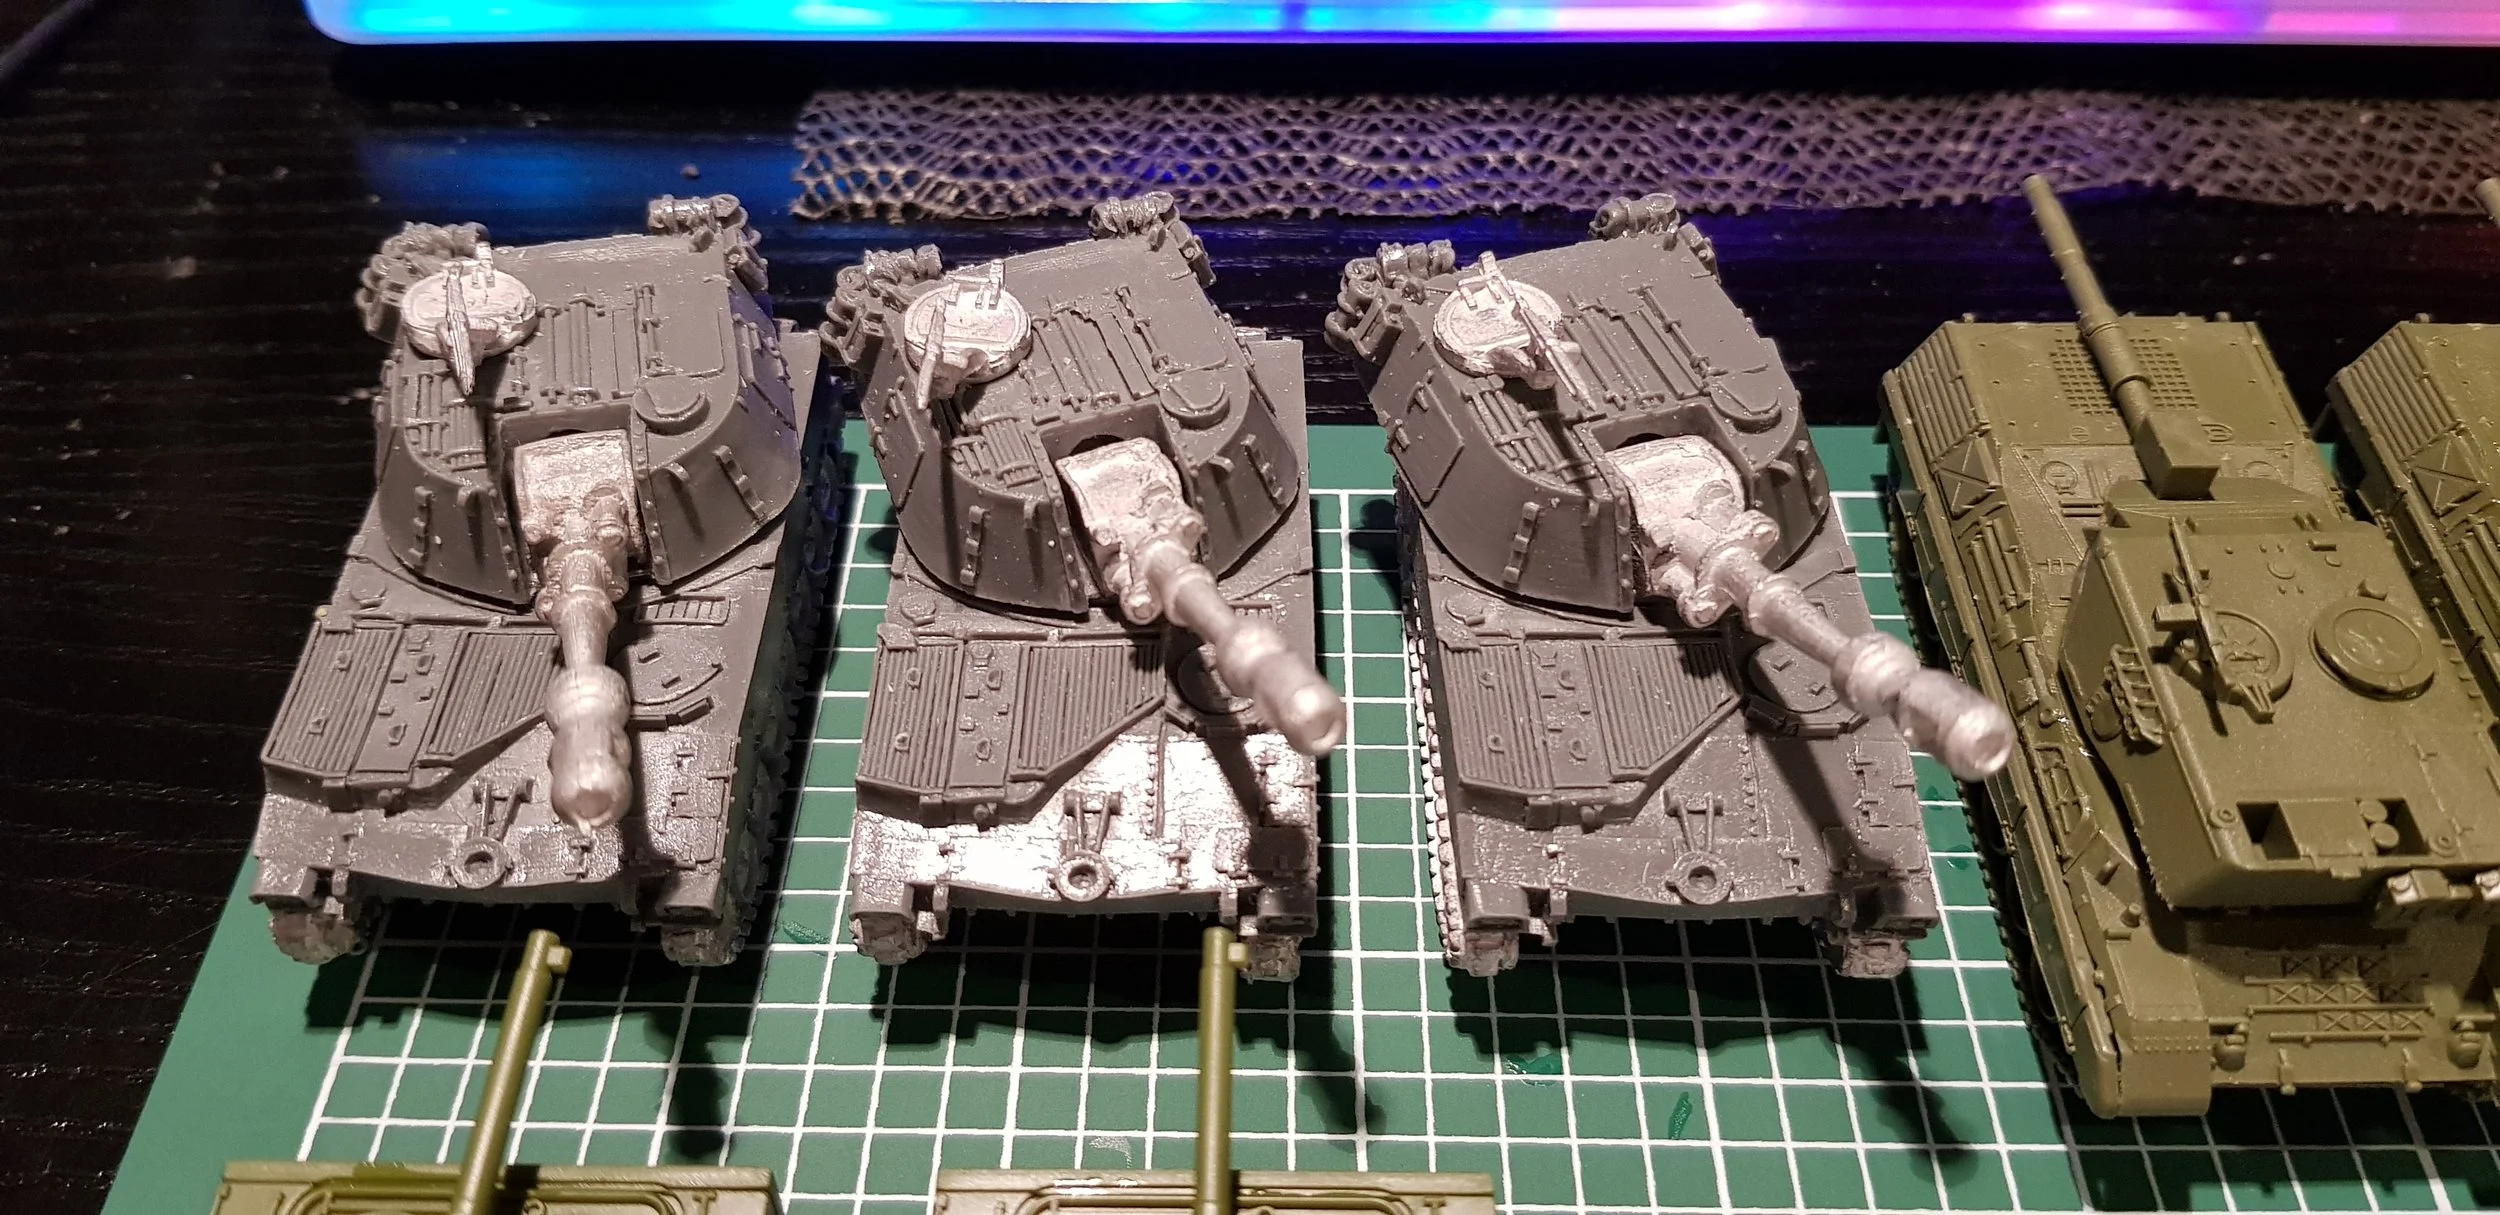
Those M109G ready to take out the enemy!
Open and work on 1 box after each other. I started with the M109Gs. They are made of metal and resin. Superglue and file. The M109G are easy though. So it’s your first step towards your new tanks… but you can make so many errors, which I did (of course I did)
Mounting the barrel was a interesting part of it. It does not fit quite well, but if you move it to los it is to big. This can be fixed later on with Green Stuff (epox modeling stuff).

Next in line, I selected the Leopard 1 to be build. 5 excellent tanks for their time and the models look fantastic.
Those are full plastic tanks and the essambly was quite as easy as the M109G. All the parts fit perfectly into each other, giving you an excellent building experince from start to finish. I also build the 2nd turret, which is set to be for the Leopard 1 A1A or A2 varaiants. The ones showing in the picture are Leopard 1 A3 and A4 variants with the edges turret.

Now the cream de la cream, the superior Leopard 2 A 4 Variant. The big cat essembly was easy as the others and also really gave me a very welcome experience in the tank essembly world.
These models are quite awesome, not only in building them, but the astonishing look of them. Beautiful!
Look at the details of the model itself.
The Ground of any paint

Now it was time, after they Plastic glue dried up and all has settled to get them a spray of primer. A solid base for any other paint to stick on. I choose the Army Painter Army Green, which I bought locally in our shop, Gamers World Dublin.

I had some wooden planks left, small 5 by 5 cm sticks, around 50 to 60 cm long. I wentahead with the same groups as before. The M109G first, fixed with some Blue Tac on the wood, so they would fall off when turning or holding them. (easier to move these around and you don’t make a mess).
