
New Page
New Page
Team Yankee


It all started when…
How do I discribe how I got into minitures? All started 20 years ago with Warhamme, then transitioned to Warhammer 40k.
Now I have deceided that I need a good hobby again to release stress :)
And I felt in love with Team Yankee. After a certain research time (guess it was more than 6 months) I choose the West German Army to be my go to point and I bought myself the starter set for Kampfgruppe Muller, a Leopard 1 Panzer Zug and a M109G Battery. I did not use any magnets so far, but want to use them in the future and maybe also rebuild the first batch with magnets. They are easy to use!
TheM109G Field Artillery

These fine M109G is the German variant of the American M109 Field Battery. The M109G (G for German) are fitted with the smaller barrel and the MG3 on top.
These tanks do have mixed metal and resin parts and you will need to use Super Glue. I had a lot of fun working on them, however, there have been some small issues with the tracks, but nothing which cannot be solved.
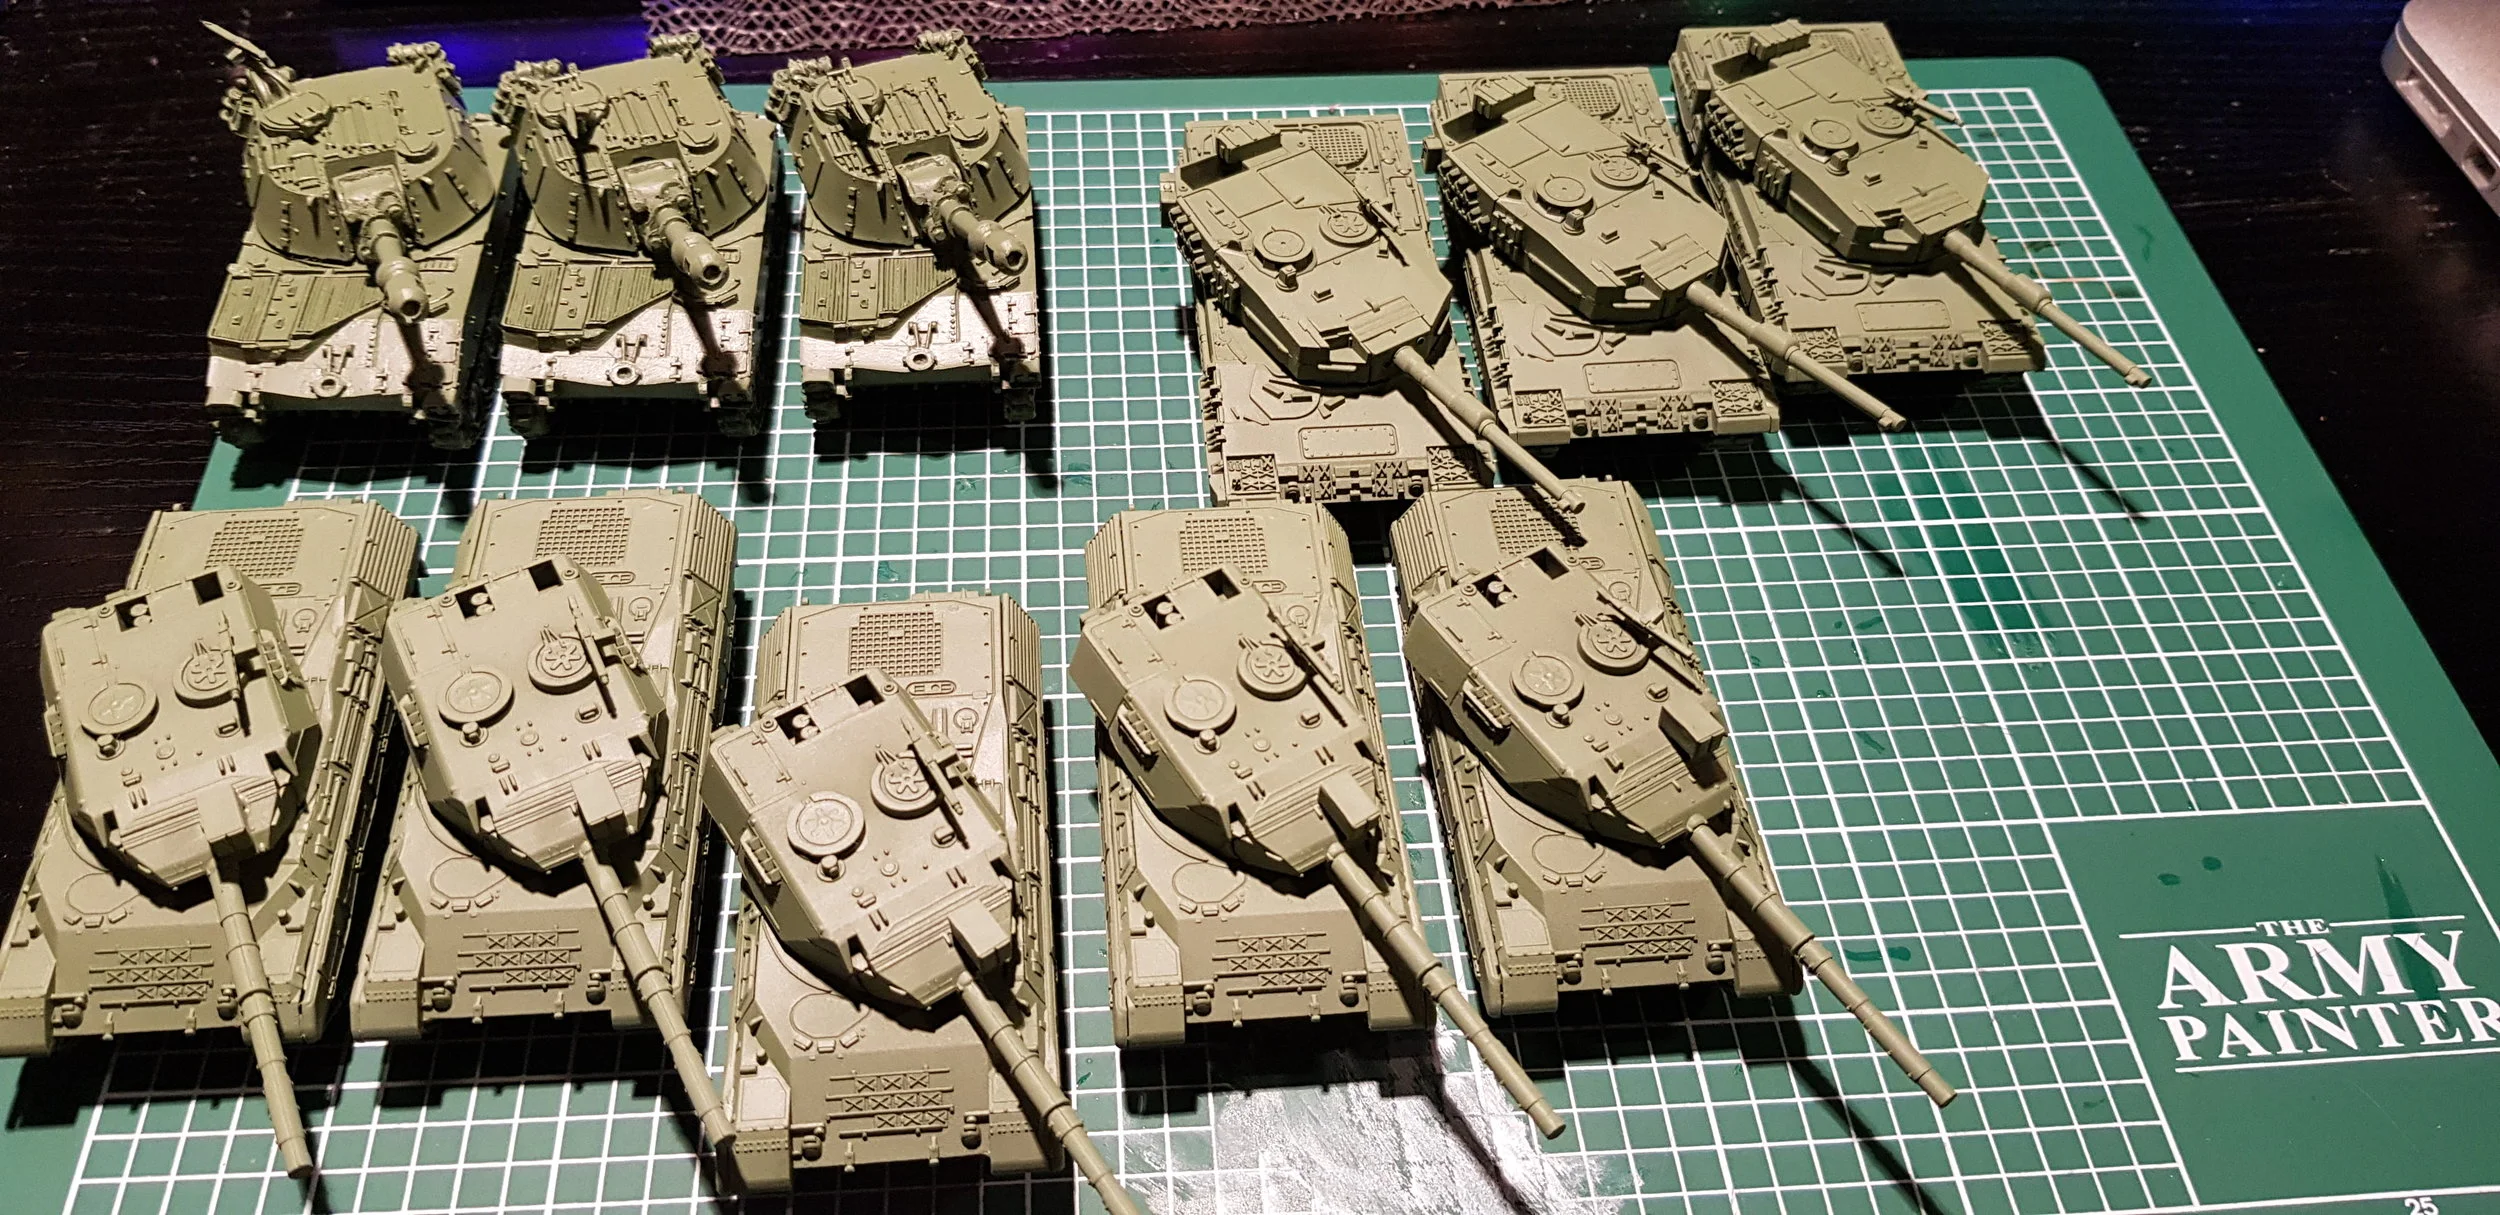
The Leopard 1 A3

The next in line for my build, have been the Leopard 1. There are 2 different turrets available, first the A1A1 and A2 variant and the A3 variant.
These tanks have been really fun to build and assamble. Full plastic models, no resin or metal, in which case you use a Plastic glue or Plastic cement. Be careful though to not use a lot on parts.(it can be messy trust me).
They look really good and beautiful. Quite well made and all the little details can bee seen.
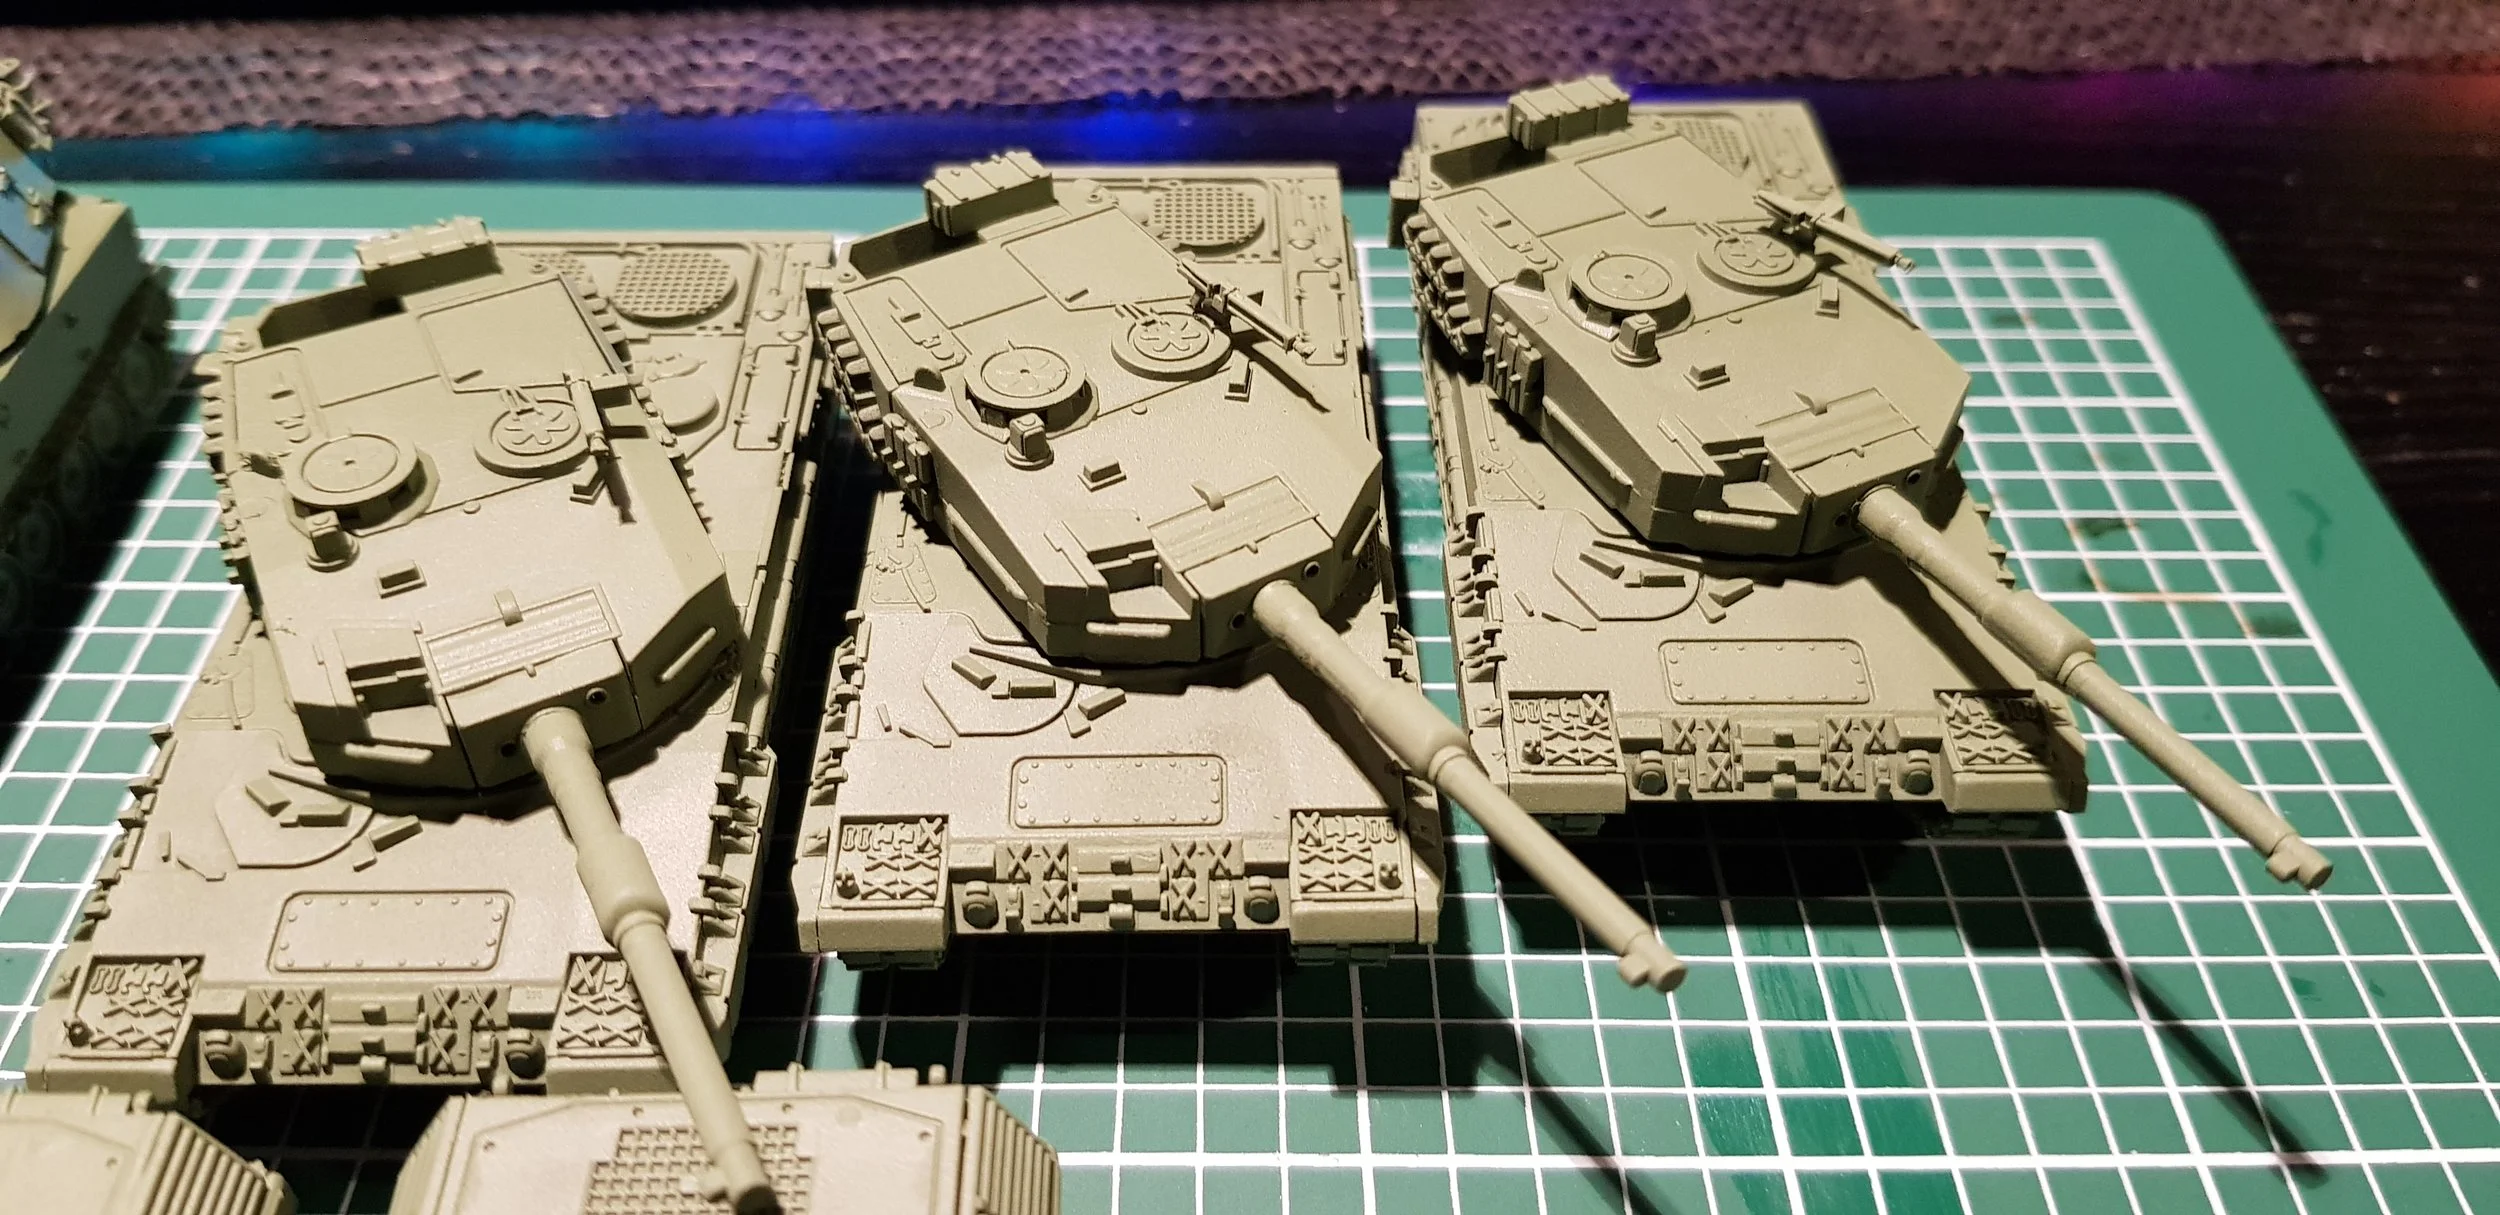
The Leopard 2

Next was the Leopard 2 (maybe the variant A4, I don’t know) is an excellent, well made and beautiful tank. The miniture itself does contain all of the details which are given on the real life tank.
The build of these tanks was really enjoyable and fun. As before the parts did fit to each other really well, sometimes I thought I do not even need glue.
Team Yankee - Pre-paint
Team Yankee - Pre-paint
The Pre-Paint Phase
Now they need Paint…
How to paint them? What type of primer do I use? All questions you may ask yourself when looking at the tanks and minitures before you. Do whatever you think is best for yourself. I choose to paint them with a brush. The primer I choose is from Army Painter (Army Green) and I bought it locally from our Dublin Gamersworld shop.
The paint itself was the German Color box. One more hint … do buy some other paints from other companies - such as black, white, blue. You will need them.
TheM109G Field Artillery

How I used the spray primer on the models. I used a 5 to 5 cm to 30 cm block, used some Blue Tac to fix the models and used the spray. With the wooden block you do not get messy hands and you can move/turn/spray from different angles without any big issues. So each turret and base sprayed separated.

The Leopard 1 A3
The same technique as on the M109Gs was used on the Leopards. First the base and then both turrets.
The Leopard 2
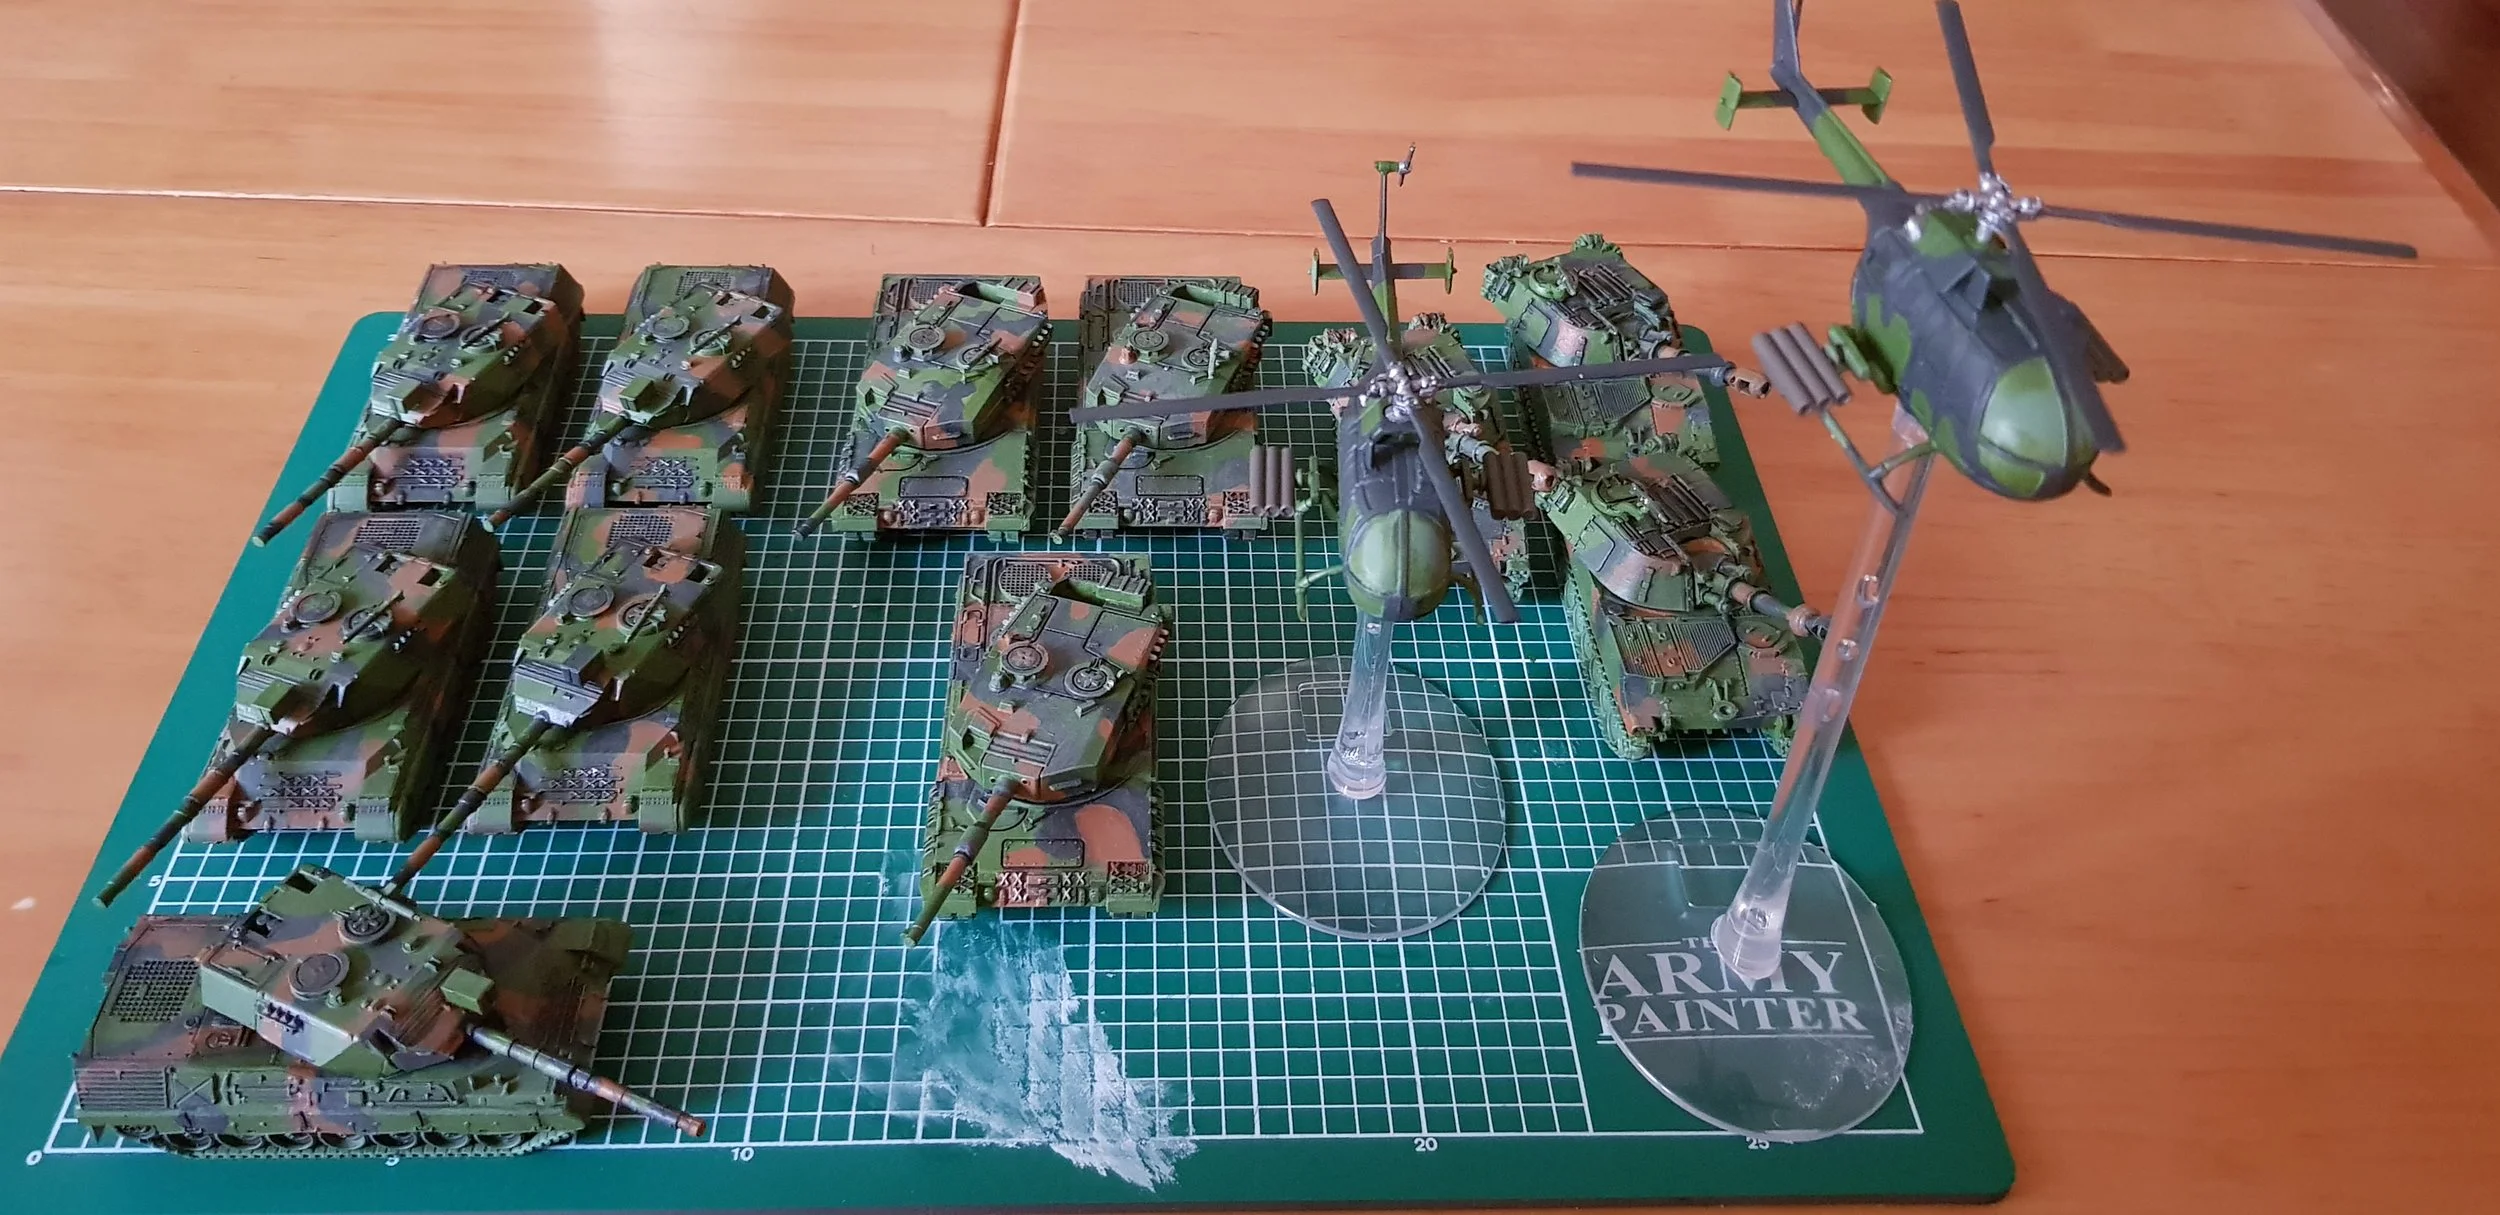
And the same had been done to the Leopard 2 and the BO105 PAH.
Team Yankee - The real paint
Team Yankee - The real paint
The Real
Paint Phase
Now they need MOAR Paint…
After the base primer coat dried through (really wait for 10 hours to be sure, even if you are excited to work on) you can add the next coat of paint. For me it Nato Green, as the tank have got the 3 color Nato camoflague for Germany on them. Try any kind of camo first on paper to see how it looks like for yourself and make a “Battle plan”. For myself I stick to this plan. First all tanks going NATO Green, then the Black camo pattern and last the Brown camo pattern. Wheels next for all tanks in Worn Rubber/Black mix. Tracks Worn Rubber/Black/Metal mix (don’t know how much of each). Using Wash for the deeper details and last drybrush the highlights.
TheM109G Field Artillery

Not bad for an old guy like me ^^! Started with the NATO Green paint, then Worn Rubber and last Woodland Brown.

The Leopard 1 A3
The same technique as on the M109Gs was used on the Leopards. First the base and then both turrets.

Details highlighted and washed
The Leopard 2
And the same had been done to the Leopard 2 and the BO105 PAH.

Leopard 2 with camos - right one still missing the Worn Rubber set of camo
Here the Leopard 2 with all works done. Details highlighted and washed.

All details highlighted, deeper details washed
All together on the picture
The last part was the BO 105 PAH, which I am still missing blue paint for the cockpit.